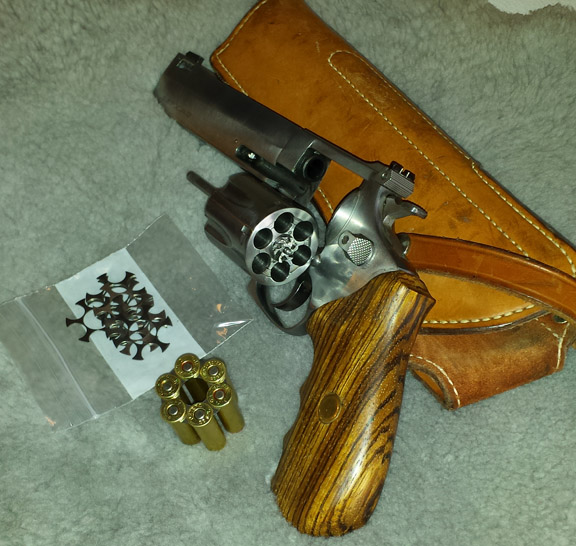
New furniture for the Cyclops
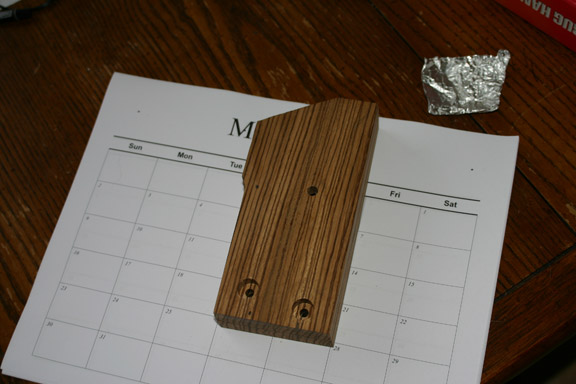
Block of zebra wood and 100 man hrs or so...
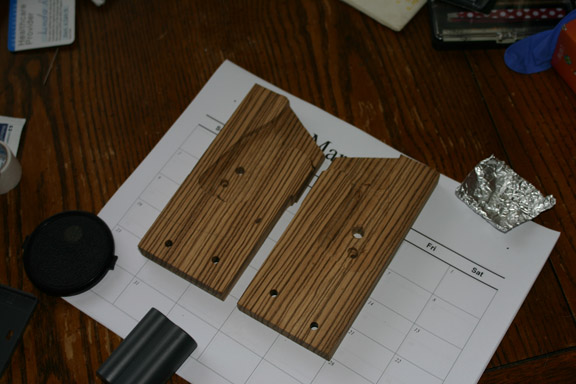
Some tracing and milling
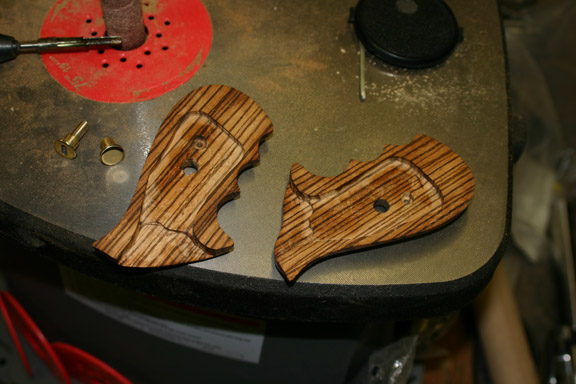
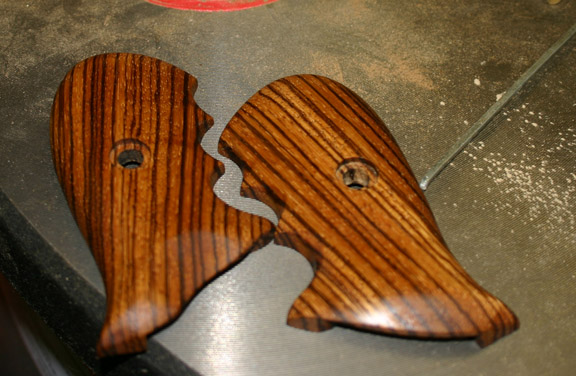
Several coats of Watco
Hot off the lathe
I would have gladly bought some, but none were available.
The old rubber grips were hard and cracking up, threaded insert had pulled loose so they couldn't be tightened.
Probably could turn out another set in about 10 hrs after the learning curve on this one.
Don't worry, I'm not going to quit my day job.
Winter Project
- Login to post comments
Sun, 03/30/2014 - 13:10

Sun, 03/30/2014 - 13:24
#1
Next step
Find a moon clip that fits and do the cylinder...
Mon, 03/31/2014 - 20:52
#2

Nicely done!
Watco oil is a
Nicely done!
Watco oil is a wonder, isn't it?
I have a ton of Myrtlewood burl material around that I saved up for all that "free time" I was supposed to have when I retired. I just never figured out how to save up the time. Wish I had a stockpile of hours hidden away somewhere
Tue, 04/01/2014 - 05:49
#3
I just....
...neglect the household duties and maintenance, frees up enough time to keep up with the reloading and shop projects....
Wed, 04/02/2014 - 06:35
#4

Nice!
Hi Al: After seeing your little steam engine project I had no doubt you could handle a job like these grips! Have you ever tried "Tung" oil? I have used it on several stocks and a maple living room floor with great results. Chris S
Wed, 04/02/2014 - 16:47
#5

tung oil
Tung oil is great stuff. I have used it on rifle stocks for many years. I have mixed it 50/50 with linseed oil to keep it from being too dark. Really nice looking job, Al.
Fri, 04/04/2014 - 17:50
#6
Tung oil
I've always been a sanding sealer and varathane or minwax polyshades type of finisher, "Project done just needs a 5 minute finish" As I get a little longer of tooth moving more to "Project ready for a deservedly nice finish" school of thought. I used a method I found on a woodworker site, after the first 2-3 "soak/ wipe/ wait" I let it dry for a day, then started with 280 wet dry wetted with Watco, then the same with 400, 600.
Sat, 04/05/2014 - 08:49
#7
Sanding is the thing.
Al: those sanding steps are what really give the wood a finish, the choice of oil is personal like choice of booze. The old timers?? used to sand every coat of oil (usually real boiled linseed oil, not the chemically boiled stuff of today) in by hand and took many coats (sometimes as many as twenty) to get what ended up being a "hand rubbed" finish. Most of us tinkerers don't have the luxury of that kind of time but if you do it is worth it. Chris S
Sat, 04/05/2014 - 11:14
#8
Boiled Linseed Oil
One of my first gunstock projects was to refinish a Spanish Mauser carbine and put nice iron sights on the barrel. I used one of the ancient tomes by James Howe to find a suitable finish. As a result, I boiled linseed oil for a long time and rubbed repeated layers on while sanding between. After about twenty coats, I rubbed with oil and powdered rottenstone. It turned out beautiful, but I have since learned to do equally beautiful and more durable finishes without having to devote 150 hours. Tung oil, thinned and varnish will handle it nicely. The secret is the preparation of the wood. And 600 and 1000 wet and dry paper.
I suppose it would show my age to say that my first cold rust blue solution was made by dissolving degreased nails in hydrochloric and sulphuric acid. I have since progressed to acid fume bluing.
Mike
Sun, 04/06/2014 - 07:27
#9
Where To Get..........
.......the supplies Mike? I too was trying fume bluing but couldn't find the acid to get the job done. I first read about it in an annual edition of Custom Guns by John Amber but can't remember the gunsmiths name that detailed his process. I even made the Plexiglas case to hold the parts but gave up when the nitric acid procurement was lacking. I guess I didn't try hard enough to find it. I subsequently tried Parkerizing and made my own phosphate concoction using Coca-Cola (the original formula) and some manganese metal I dissolved in it. Works good even as a touch up cold but better when used with hot boiling water trough. Yep I ran away with your post as I am like that, but back to your stock finish and I whole heartedly agree with your formula and the reduced time needed. Keep up the great posts Mike. Chris S
Fri, 04/25/2014 - 16:24
#10

Grips
Being an essential sort, I have always preferred grips that point well first, and then do everything else second.
Of course, this means that little things like ejection take a back seat.
I wonder, Al, how your grips work all around? Also, how about those round butts on major caliber revolvers?
Sat, 04/26/2014 - 12:38
#11
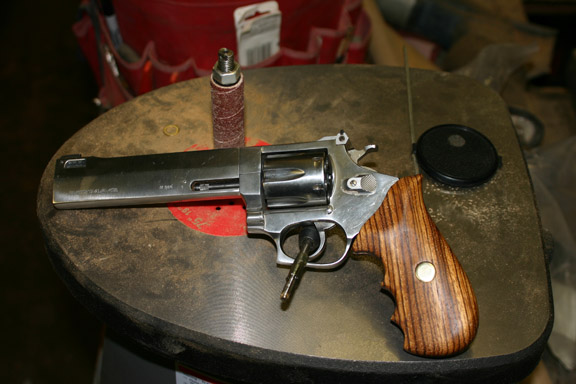
Grips/ angle and the likes...
Grip works great. Round butt very comfortable, grip is pretty good sized so the round part is below center of palm, widened up the finger spacing just a little from the .44. My 44 has a slightly smaller round butt Gunny fit for me, shoots comfortably all the way up to a full case of "No Wimps" under a 250 Keith. Grip angle is something else, as you so correctly point out, points first...(If you notice I did allow for a clear ejection path on the left half) tried to match as close as possible my .44 setup. I shoot various speed competitions with a Smith revolver, A Rossi Revolver, and a half full bucket of Glocks and 1911's. Every one points a little different but as soon as my hand is on the grip muscle memory takes over and safeties drop (well, not on the glocks or revolvers), front sights come up to target and lead starts flying down range...
Sat, 04/26/2014 - 12:58
#12
OK, back to topic...
As I said, Moon Clips next. After digging around for a couple of weeks, Tom at TK Custom said order the Colt Trooper II clips. Came in Wednesday so the cylinder went under the knife last night.
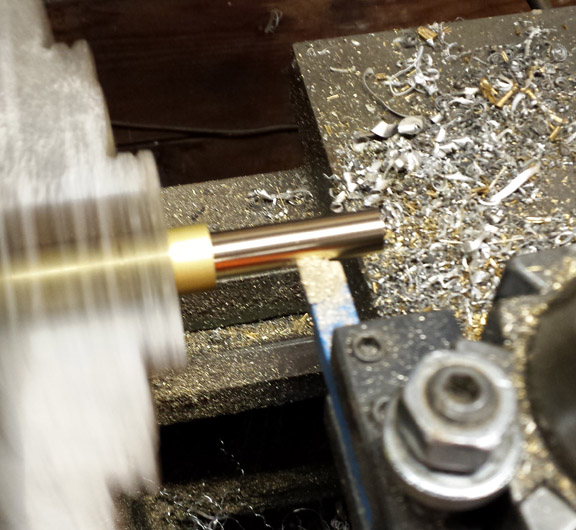
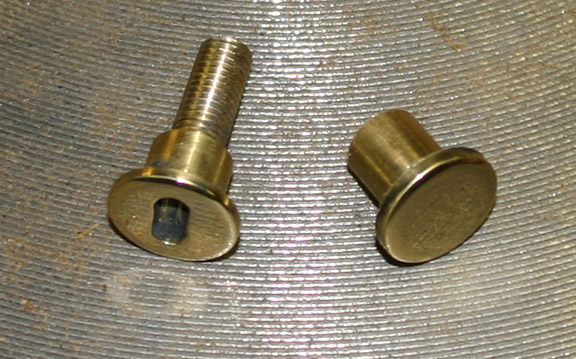
First cut a plug, about the size of a case but press fit, to firmly anchor the star ejector in place as I am turning it along with the cylinder
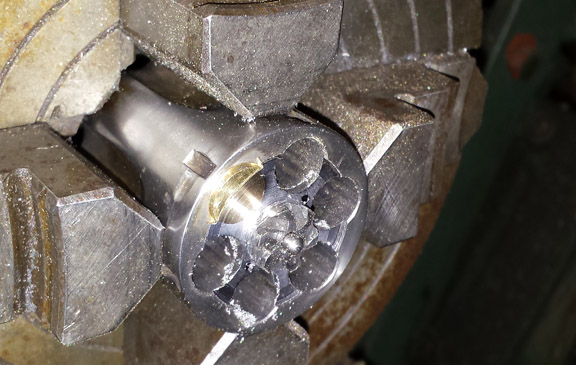
Under the knife, cut .026 deep as the clips are .025. Plug visible upper left
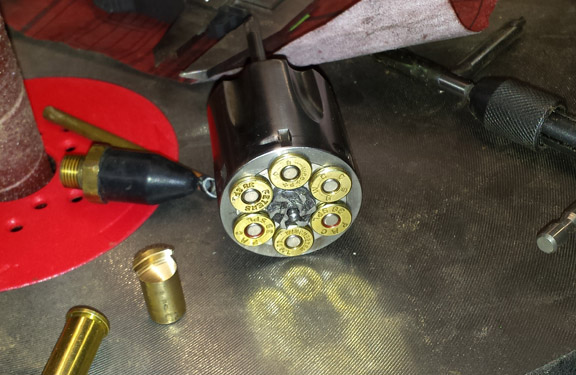
Plug pressed back out seems to be a nice fit
Shout out again to TK Custom for taking the time to read my email, look at my drawing, and find the right clips. Now to go beat up on some bottom feeders at Wednesday's speed steel match.
Sat, 04/26/2014 - 13:13
#13
Great Job.
Gunny would be proud of you Al. Chris S
Sat, 04/26/2014 - 13:16
#14
Nice work
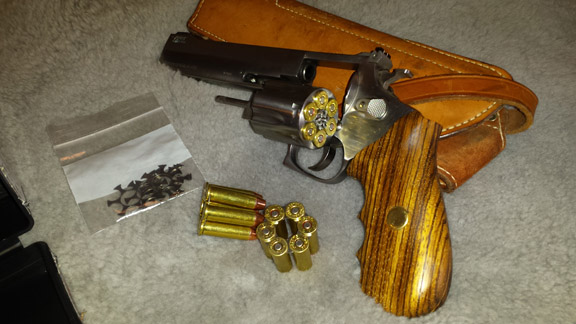
Those clips seems to fit like they were factory.
Yes, grip frames are all widely different, sometimes maddeningly so, and yes, there is a limit to the amount of correction possible, which means, as you say, Al, that you need time behind the gun to figure out what works personally best.
I know for myself that the most comfortable grip at rest is not necessarily the one that will serve best once the digits start moving. Slow fire, where the pistol must be held with firm tremble free hand control is different, I think, from rapid fire, or what folks used to call combat conditions.
Anyhow, any time behind the handgun is most likely good time, good luck in your match.
Sat, 04/26/2014 - 18:09
#15
And it's a free shoot next week...
...took the second match and the tie breaker with the Smith last week, hate to brag but few things in life are more satisfying then beating a room full of bottom feeders with a wheel gun...
We'll see how the Rossi stacks up against the competition.
Recent comments
23 weeks 3 days ago
48 weeks 4 days ago
1 year 6 weeks ago
2 years 2 days ago
2 years 7 weeks ago
2 years 7 weeks ago
4 years 45 weeks ago
4 years 46 weeks ago
5 years 8 weeks ago
5 years 24 weeks ago